

xin chào there! I'm emerald_32, but bạn can call me ngọc lục bảo hoặc Em. Today I'll be hiển thị bạn a quick tutorial I made on how to đăng tải images.
So I've heard that a lot of users are having problems with the new image uploader. I have to say, it isn't really that complicated. For a 1-2 days it was for me, but I figured it out now. Since some don't, I'll be nghề viết văn this bài viết for that situation.
Please note that the browser that I use is Google Chrome, because it has some built-in plug-ins that are handy when surfing the net and uploading images.
Okay, let's get started. So, I want to đăng tải two hình ảnh on the linkclub. First thing I'll do is go to the club itself (of course, how can đăng tải hình ảnh when you're not on a club?), then go to the hình ảnh section.
I prefer to go to the hình ảnh section and pick which type of image I will upload, because if I pick the general one, sometimes some pictures get sent to the biểu tượng section.
I'd like to đăng tải some người hâm mộ art, so I'll go and click the "upload người hâm mộ art" button.

As soon as I click it, the page goes to another one, the image-uploading page hoặc whatever bạn call it.
 comes! :D")
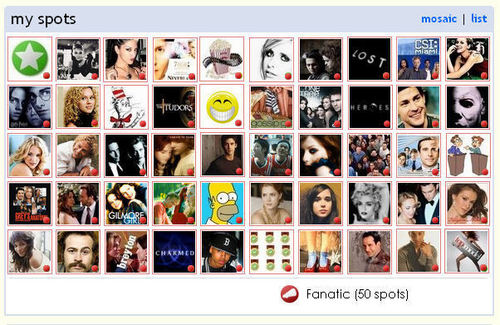
It's important to know how many hình ảnh you're able upload. If bạn don't have any medal at that spot yet, then bạn can only đăng tải until 50 pictures. But, if bạn have a medal (dedicated, die-hard, fanatic, etc...), you're allowed to đăng tải unlimited amounts of images.
So now, I'll đăng tải an image.
I'll click "Browse to select images" and a pop-out will appear. From there, I'll select my photo. (When I đăng tải pictures, I ignore the "Drag and Drop hình ảnh here" box.) The picture will then appear underneath the "Browse to Select Images" button, like what is shown below.

And so I type up the information such as the name, mô tả (I don't always add a mô tả though), source/image credit, and tag (Tags and Image Credit is quite important. If bạn want to know who made the bức ảnh hoặc what the nguồn is, type up the needed info in the bar. tag are also important because it well help people find the hình ảnh bạn post faster.).
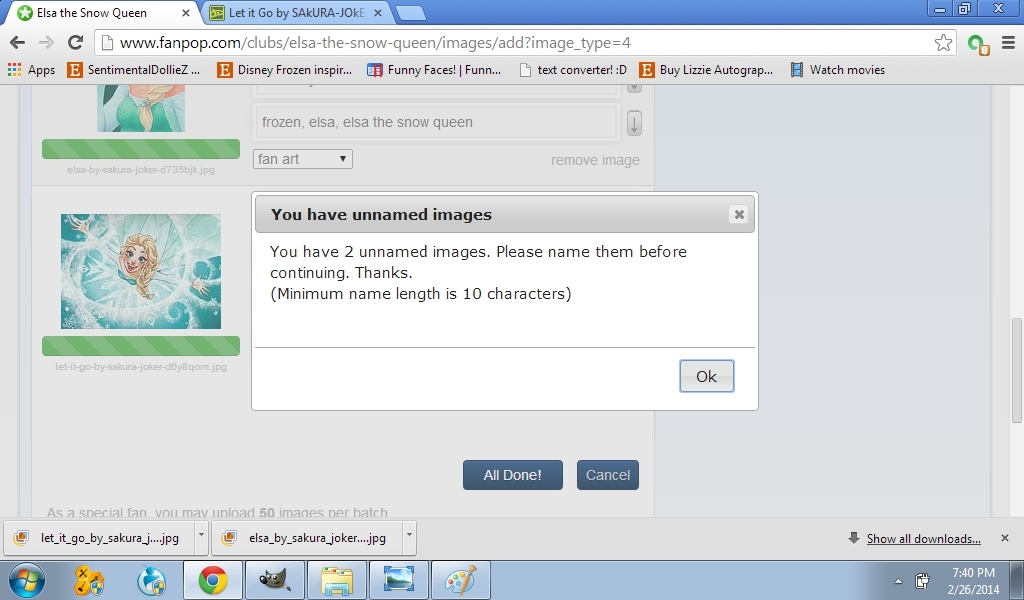
Remember when I đã đưa ý kiến I wanted to post two pictures? I'll do that, too. Just repeat what bạn did with the first picture and type up the needed information.

Once you've finished that, click "All Done!"
Important: Make sure that all your pictures have finished loading. The green bar below a certain picture is the one that will indicate if it's done hoặc not.
But wait! A pop-out come out saying that I have two unamed images. The minimum is 10 Characters, so it has to be 10 characters.
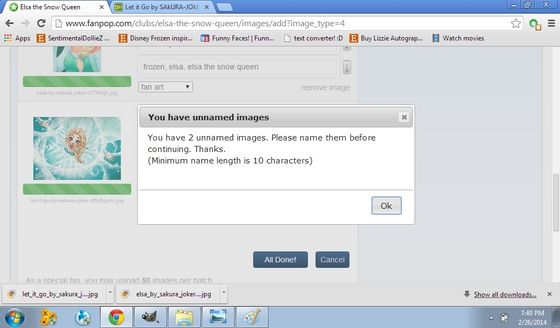
Here's a little something I'll tell you: spaces. Add extra spaces until bạn have 10 characters. Once bạn have 10 hoặc thêm characters, press "All Done!" once again. Hopefully, it should work.
Once it's finished, it'll direct bạn back to the hình ảnh page. Look to the section where bạn wanted the image to be. It should be there.

Alright, thank bạn for viewing this article. I hope it was helpful to you. Tell me if it did. I hope it worked, it took sometime in making this.
Thanks for viewing, and have a nice day~
~emerald_32
So I've heard that a lot of users are having problems with the new image uploader. I have to say, it isn't really that complicated. For a 1-2 days it was for me, but I figured it out now. Since some don't, I'll be nghề viết văn this bài viết for that situation.
Please note that the browser that I use is Google Chrome, because it has some built-in plug-ins that are handy when surfing the net and uploading images.
Okay, let's get started. So, I want to đăng tải two hình ảnh on the linkclub. First thing I'll do is go to the club itself (of course, how can đăng tải hình ảnh when you're not on a club?), then go to the hình ảnh section.
I prefer to go to the hình ảnh section and pick which type of image I will upload, because if I pick the general one, sometimes some pictures get sent to the biểu tượng section.
I'd like to đăng tải some người hâm mộ art, so I'll go and click the "upload người hâm mộ art" button.

So, I'll just press that....
As soon as I click it, the page goes to another one, the image-uploading page hoặc whatever bạn call it.
 comes! :D")
...And the image-uploading page (or whatever bạn call it) comes! :D
It's important to know how many hình ảnh you're able upload. If bạn don't have any medal at that spot yet, then bạn can only đăng tải until 50 pictures. But, if bạn have a medal (dedicated, die-hard, fanatic, etc...), you're allowed to đăng tải unlimited amounts of images.
So now, I'll đăng tải an image.
I'll click "Browse to select images" and a pop-out will appear. From there, I'll select my photo. (When I đăng tải pictures, I ignore the "Drag and Drop hình ảnh here" box.) The picture will then appear underneath the "Browse to Select Images" button, like what is shown below.
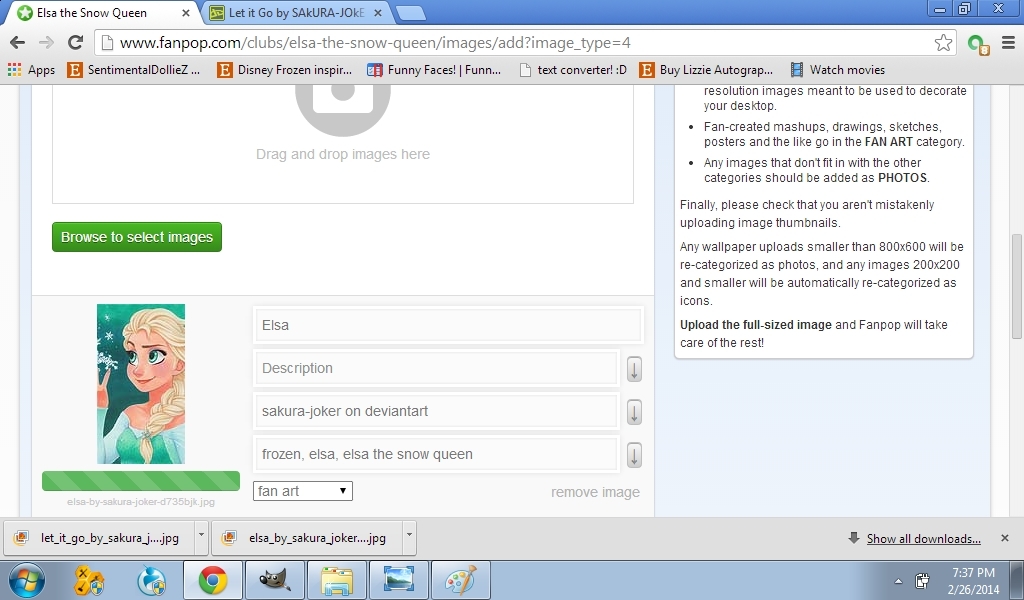
And so I type up the information such as the name, mô tả (I don't always add a mô tả though), source/image credit, and tag (Tags and Image Credit is quite important. If bạn want to know who made the bức ảnh hoặc what the nguồn is, type up the needed info in the bar. tag are also important because it well help people find the hình ảnh bạn post faster.).
Remember when I đã đưa ý kiến I wanted to post two pictures? I'll do that, too. Just repeat what bạn did with the first picture and type up the needed information.

Once you've finished that, click "All Done!"
Important: Make sure that all your pictures have finished loading. The green bar below a certain picture is the one that will indicate if it's done hoặc not.
But wait! A pop-out come out saying that I have two unamed images. The minimum is 10 Characters, so it has to be 10 characters.
Here's a little something I'll tell you: spaces. Add extra spaces until bạn have 10 characters. Once bạn have 10 hoặc thêm characters, press "All Done!" once again. Hopefully, it should work.
Once it's finished, it'll direct bạn back to the hình ảnh page. Look to the section where bạn wanted the image to be. It should be there.

Alright, thank bạn for viewing this article. I hope it was helpful to you. Tell me if it did. I hope it worked, it took sometime in making this.
Thanks for viewing, and have a nice day~
~emerald_32


I'm not afraid of you, Ghost!

I did it again.
I accidentally hit the "start chat" tab again.
And couldn't remember how make it go away.
I've had this problem a few times before and have to re-learn it every time.
For some reason, I'm always under the impression that the solution lies under my thông tin các nhân settings.
It does not.
So now there is an bài viết to remind me, and anyone else who needs it, how to get rid of this dang thang.

Step 1: Under the "contacts" tab, click "I am online." The words, not the pencil. If bạn click the pencil, it will complicate things and you'll have to reload the page.

Step 2: Click "Log out."

It's not the most obvious way out, but it's easy once bạn finally remember how to do it, so I hope this helps cut down on some frustration. (If not for you, at least for me tiếp theo time I accidentally open it and frantically tìm kiếm for a solution. =P)
I accidentally hit the "start chat" tab again.
And couldn't remember how make it go away.
I've had this problem a few times before and have to re-learn it every time.
For some reason, I'm always under the impression that the solution lies under my thông tin các nhân settings.
It does not.
So now there is an bài viết to remind me, and anyone else who needs it, how to get rid of this dang thang.
NOOOOOO
Step 1: Under the "contacts" tab, click "I am online." The words, not the pencil. If bạn click the pencil, it will complicate things and you'll have to reload the page.
LET ME OUT
Step 2: Click "Log out."
Anddd we're back to normal. Carry on.
It's not the most obvious way out, but it's easy once bạn finally remember how to do it, so I hope this helps cut down on some frustration. (If not for you, at least for me tiếp theo time I accidentally open it and frantically tìm kiếm for a solution. =P)
Yeah, I know this is kinda lame, but this is all I could think up! :'(
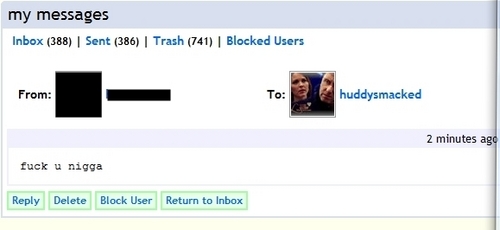
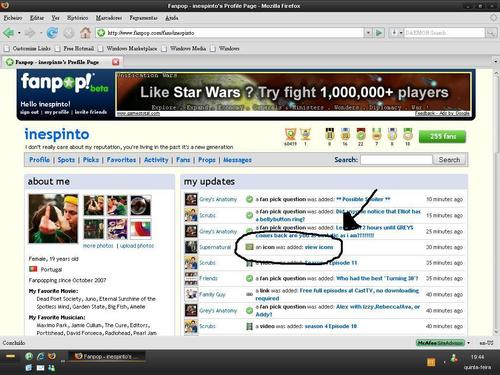
Just go to an article, (or look the person who bạn want to message up) and click their name near the top. fanpop will hiển thị bạn their thông tin các nhân page and scroll down until bạn find the "Message" tab. Click it and ...voila!
Just type your message and send it. If they message bạn back, your hộp thư đến will tell you! Try it!
Sorry if this was lame! :(
But please remember to
Like
Be a người hâm mộ of this
Comment
And subscribe!
Have a great day!!!!!!